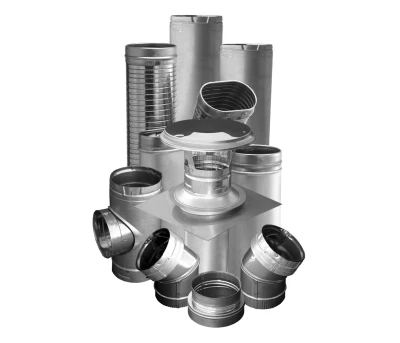
Typical Installation
Refer to our Typical Installation drawings to select the appropriate component parts for your installation
- The inner pipe diameter should match the outlet size of the appliance.
- Check the appliance manufacturer’s installation instructions for any venting restrictions.
- Be fire safe! Follow local building codes and have your venting system inspected.

More Typical Installations:

| Installation Key |
| 1 |
Extend-A-Cap Kit |
| 2 |
Round Tee with Round Branch |
| 3 |
DuraTech or DuraPlus Chimney |
| 4 |
Tee with Removeable Snout |
| 5 |
DuraLiner – flexible length |
| 6 |
Masonry Thimble w/ Slip Connector |
| 7 |
Slip Connector and Hanger |
| 8 |
30° or 45° SS Elbow |
| 9 |
Transition Anchor Plate |
| 10 |
ProMesh & ProFoil |
| 11 |
Insulation Clamp |
| 12 |
DuraLiner Appliance Connector |
| 13 |
DVL or DuraBlack Stovepipe |
Planning Your Installation:
- Refer to the Typical Installations for the needed parts for installation.
- The size of the liner should match the outlet size on the appliance.
- Determine use of round or oval pipe based onthe interior shape of the chimney.
- Determine the length of liner needed. Subtract 1 1/2″ overlap per joint on pipe. When using Extend-A-Cap kit, liner must extend 6″ above top of the masonry surface.
- Make sure the top of the masonry chimney has a leveled surface to insure a proper fit for the Extend-A-Cap or Transition Anchor Plate and to provide a secure, leak-proof installation.
- If a free-standing appliance is used, select the vent or stovepipe pieces to connect from the appliance to the liner. Refer to installation instructions.
- For Installations using a Transition Anchor Plate, refer to the DuraTech, DuraPlus, or DuraPlus HTC catalog section or installation instructions for proper parts and installation.
- Important! Check to be sure the installation complies with all local and national code requirements, including clearance to combustibles. Contact the local building inspector for permit requirements.
Design Recommendations
- The following design recommendations are a general guideline to assist in the design and selection of liner components for your installation. Always follow DuraVent installation instructions enclosed with the cap or support box before installing your chimney system.
- Before relining a chimney, it should be cleaned and inspected, by a certified chimney sweep, to verify the integrity of the mortar and masonry.
- DuraLiner is approved for 0″ clearance between the liner and masonry and 0″ clearance between the masonry and combustibles.
- DuraLiner is used for wood-burning appliances when zeroclearance or oval pipe is needed.
- Refer to the appliance manufacturer for installation requirements affecting venting. Keep the vent path as straight as possible for best performance.
Restore Deteriorating Chimneys with DuraLiner
When a masonry chimney is damaged or has fallen down, it can be replaced with a safe, listed liner system or factory-built chimney. DuraLiner, when used with a Transition Anchor Plate and in combination with DuraTech, DuraPlus, or DuraPlus HTC Chimneys, replaces the damaged masonry chimney with a safe, efficient, and economical listed chimney system (DuraPlus HTC is listed for use in Canada). See Typical Installations for details.


